Showing posts with label cookies. Show all posts

Friday, August 8, 2014

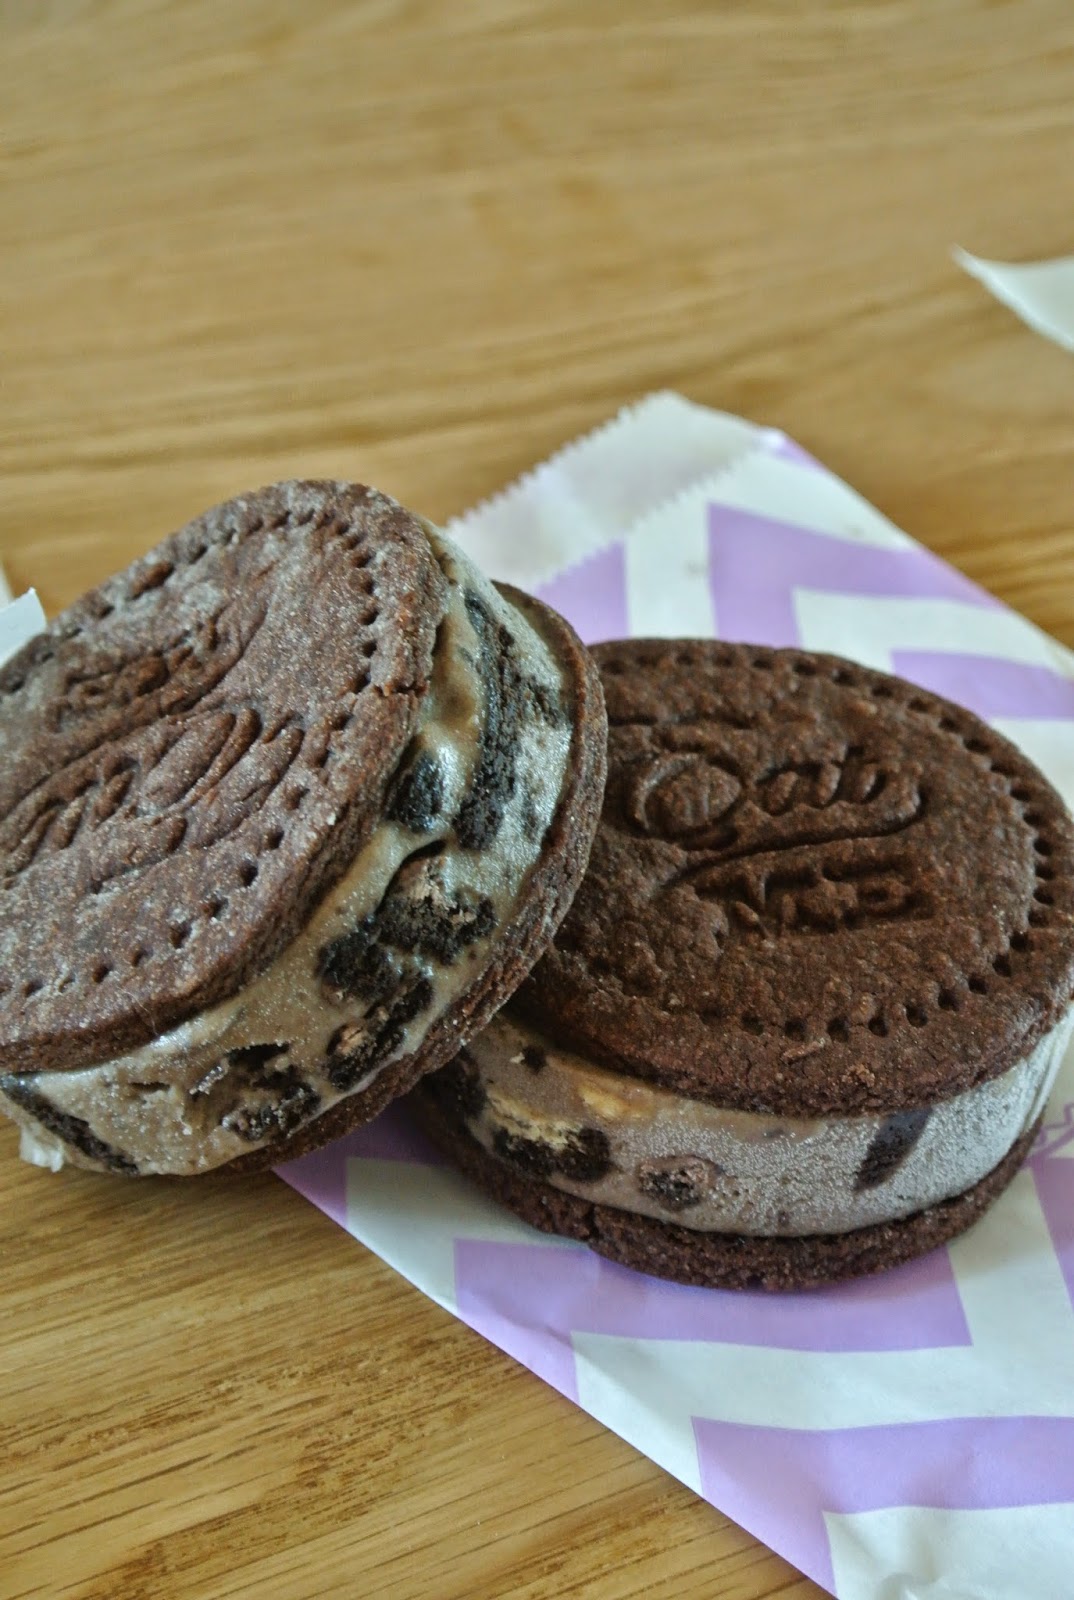
Cookies and Cream Ice Cream Sandwiches.


Delightfully smooth and custardy homemade ice cream filled with giant chunks of peanut butter Oreos sandwiched between two chocolate cookies literally screaming for you to dig in. Who doesn't love that?


After a short hiatus, I'm back with the bomb diggity. Literally, THE best thing I have ever made. Probably. From the looks to the taste, this ice cream sandwich is the best thing that's happened to me all summer. Given, summer is over in 5 days (eeek!) and this summer has been utterly uneventful. Ice cream sandwiches rule the world.

I've never been fond of making homemade ice cream just because I don't own an ice cream maker (and can't fit one in my new kitchen at the moment). However, I was watching an episode of Junior Masterchef Australia the other day and saw a handsome young man whip up a magical ice cream sandwich creation. The crazy person in me decided that she'd be able to handle all the ice cream fuss and would like to attempt this daunting task.


It turned out to be nothing out of the ordinary. I wish I had some fantastic tale to tell about me conquering my ice cream making fear but I'm afraid there was nothing interesting enough to share. I followed the recipe to a T, making slight adjustments along the way. Also, I did about a billion taste tests, just to make sure everything was good. That bit I enjoyed the most :)

This recipe began with making a basic, simple custard, which I did rather quickly. Then, I had the time of my life smashing some Oreos to add into the mixture. I did make a rookie mistake, however. I added in the Oreos at the earliest stage, forgetting that I'd have to mix the ice cream several times after that. So, after the first whiz with my hand mixer, the ice cream turned into a light grey color thanks to the Oreos. I will forgive that, though, seeing that grey IS my favorite color :) All I had to do to fix this "problem" was just smash a few more Oreos, this time into bigger chunks, and add them in at the VERY last time I mixed the ice cream before popping it into the freezer for good. It took about 5 or 6 times on the hand mixer, about an hour or so apart each time, before the mixture was set.


I left the ice cream in a 13x9 pan overnight to stabilize so that I wouldn't have a drippy, wet mess when I was assembling the sandwiches! The day after I made the ice cream, I made the cookie dough. It was a simple chocolate cookie recipe, nothing out of the ordinary. I wouldn't say that the cookie is a soft one, but it certainly isn't crunchy either. It's somewhere in a pleasant in-between zone. Right after I cut out the circles, I used my cookie stamp that I got from Typo to leave a sweet little message. I can't find a direct link to it but here is something similar. The cookie stamp SCREAMS me! I love it so much and can't wait to try it out on fondant and other cookies :)


After all the cookies were done and cooled, I stored them in an airtight container and called it a night. As you can see, I don't like rushing things when I bake, so if the treat can wait a day or two, I definitely let it do so. 

Assembling them was an easy job, although I did have to work very fast in order to keep the ice cream from melting. You could tell the ice cream was 100% homemade because it melted SO quickly! I cut ice cream rounds with the same cookie cutter that I used for the cookies, threw that on top of a cookie, then put another cookie on top. Easy as pie.


Because I did make several tweaks to the original recipes, I have decided to leave a full-written recipe for you all. It's a rare treat, guys! Usually, I leave links because I'm still very amateur (not to mention busy) and have no intentions of developing my own recipes (yet!), but today I thought I'd be kind enough to write it out :) The recipe is a bit lengthy, but don't worry, a lot of it is just me warning you about some things. The recipe itself is pretty simple. 

Enjoy making these sweet treats! They're seriously adorable and can turn any hot, humid (that's to all my Hong Kong peeps), and crummy day into a sweet one! (Treat bag also by Typo. This was a gift several months ago so I do not have a link. However, you can shop more adorable items from Typo here.)


Happy baking!
 photo ScreenShot2013-08-31at55636PM_zps321e12a9.jpg

Classic Chocolate Cookies

Makes about 2 dozen 7-centimeter rounds. Recipe adapted from Brown Eyed Baker.

Ingredients:
1/2 cup softened butter
1 cup brown sugar, tightly packed
1/2 tsp baking powder
a pinch of salt
1/2 cup cocoa powder
2 cups all-purpose flour, divided
4 tablespoons water, divided

Instructions:
1. Preheat oven to 350 degrees Fahrenheit, or 175 degrees Celsius. Line a cookie sheet/tray with parchment paper. If you have multiple trays, line those too, as it would save you time from having to transfer cookies back and forth before baking.

2. In a stand mixer (or hand mixer), cream together the butter and brown sugar. Beat until fluffy and incorporated, about 2 minutes. Add in the baking powder, salt, and cocoa powder, and mix well. 

3. Then, add in 1 cup of the flour and 2 tablespoons of the water. Let the mixture come together. Once incorporated, add in the remaining 1 cup of flour and the remaining 2 tablespoons of water. Make sure you let the dough mix around for a while to ensure that all ingredients are thoroughly incorporated.

4. On a floured surface, roll out the dough to about 1/8 to 1/4 of an inch thick. Make sure your rolling pin is also floured beforehand. Cut the dough using a circle cutter, as I have done, or any other cookie cutter you have. Bear in mind that different sized cutters will yield a different amount of cookies.

5. Place the cut cookies on a cookie sheet/baking tray about 1/2 an inch apart. These cookies will not spread too much, if at all, in the oven. Pop that into the freezer for 10 minutes. (You may need to do this at intervals if you don't have enough cookie sheets/freezer space. If you have multiple trays, I suggest using one solely for the freezer, and the other(s) for baking.)

6. Take the cookies out of the freezer and bake for 7-8 minutes. The cookies will look very soft and undone, but they will harden promptly after they are removed from the oven. Let the cookies sit on the hot pan for 1-2 minutes before transferring to a wire rack to cool completely. 

7. If making ice cream sandwiches, follow recipe below or use store bought ice cream. Cut out the ice cream with the same cookie cutter you used for the cookie dough. If ice cream is difficult to cut, run the cutter under hot water for a couple seconds. Immediately place the ice cream onto an inverted cookie base, then top with another cookie (right side up) to create a sandwich. Serve immediately, or put in the freezer to enjoy later.

Cookies and Cream Ice Cream (No Machine)

Makes enough ice cream for 12 ice cream sandwiches, if made in a 13x9 pan. Read footnotes for further information. Recipe adapted from Junior Masterchef Australia.

Ingredients:
1 1/2 cups milk, full fat
2 cups heavy cream
2 vanilla beans, seeds scraped out OR 1.5 tablespoons vanilla extract
4 egg yolks (Freeze the whites for later use. Works like a charm and can keep for up to a year!)
1/2 cup plus 2 tablespoons granulated sugar
15 Oreo cookies (5 packages), crushed into large chunks (NOT powder form)

Note: If making with an ice cream machine, follow recipe, but churn and freeze according to manufacturer's instructions.

Instructions:
1. Line a 13x9 pan with cling film. Make sure the film hangs over the sides of the pan.

2. In a saucepan, heat the milk, heavy cream, and vanilla until almost boiling.  If using vanilla bean, throw in the seeds AND the pod. If using extract, simply add it in. Then, remove from heat and let cool for a few minutes, making sure to stir periodically to prevent a skin from forming.

3. In a small bowl, whisk the egg yolks and sugar until the mixture is a pale yellow. Slowly whisk the yolks into the warm milk (in the saucepan), taking care to whisk vigorously to prevent the yolks from solidifying. Return the pan to the heat. 

4. Cook the mixture on low to medium-low heat until the mixture thickens up a bit and turns into a thin custard. This took about 10-15 minutes for me. 

5. Pour the custard into the prepared 13x9 pan. Place the pan into the freezer.

6. After 40 minutes, take the pan out of the freezer. The mixture should have cooled down, but is still completely liquid. With your hand mixer, whiz the liquid ice cream around for about 10 seconds, just to prevent ice crystals from forming. Place the ice cream back into the freezer.

7. After another 40 minutes, mix the ice cream again, then return it to the freezer. Repeat this at intervals: Freeze, Mix, Freeze again. I did about three 40-minute intervals, then two 1-hour intervals. In total, you would need to mix the ice cream at least 5 separate times. 

8. You can add the Oreos when the ice cream has become a thick, frosting-like texture. This indicates that your ice cream is good to go. After you whiz it with your hand mixer, lightly fold in the Oreos. Be gentle, as you don't want to crush the Oreos and lose the texture of them. Cover the pan with foil and freeze for at least 6 hours, preferably overnight. 

9. To make ice cream sandwiches, follow Step 7 from the cookie recipe above. Enjoy!

Note: 
-I made the recipe in a 13x9 inch pan. The ice cream ended up being quite thick, about 1/2 to 3/4 of an inch thick. If you want to make more ice cream cutouts, simply freeze in a larger pan. That would yield a larger quantity of thinner cutouts.

Saturday, December 21, 2013

Chocolate Brownie Crinkle Cookies


Tis' the season to bake everyday, folks!

And when I say everyday, I really mean "everyday". 

A girl needs her shopping breaks.


Quite frankly, you're probably thinking that I gained 2,000 pounds by eating all these baked goods.

But no, I didn't eat any.

Okay, maybe only the piece of cheesecake I had yesterday.

But other than that, I didn't eat a single snickerdoodle, a single brownie crinkle cookie, or a singe square of the loaded S'mores bars that I made right after I made these. *self control*


These cookies really only required some basic mixing here and there, a sprinkle of this, a sprinkle of that, and voila! 

No mixer required either. Melted butter, one large bowl, a whisk, and you're good to go. The recipe did also require some chocolate chips, so I threw some in, and that was it.

Okay maybe that wasn't only it.

You'll need to chill the dough for 30 minutes, but it's only thirty minutes. You can wait.


If you haven't realized already, this post contains minimal words.

I don't feel like talking a lot today, and I think these cookies speak for themselves.

Sometimes in life you just need to sit back and eat a simple cookie. Like these ones.


On behalf of these crinkle top cookies, I urge you to go and make them.

They are well worth your time and well worth the chocolatey calories.


Recipe here.

Now please excuse me while I go on with reading The Fault in Our Stars…...


Happy baking!
 photo ScreenShot2013-08-31at55636PM_zps321e12a9.jpg

Thursday, December 19, 2013

Snickerdoodles.


I'm back.

And I cannot believe it's been this long.

Oh yes, it's been way too long. And I apologize.

But today is the VERY LAST DAY of my exams! So….to celebrate this rather amazing milestone, I decided to make snickerdoodles.

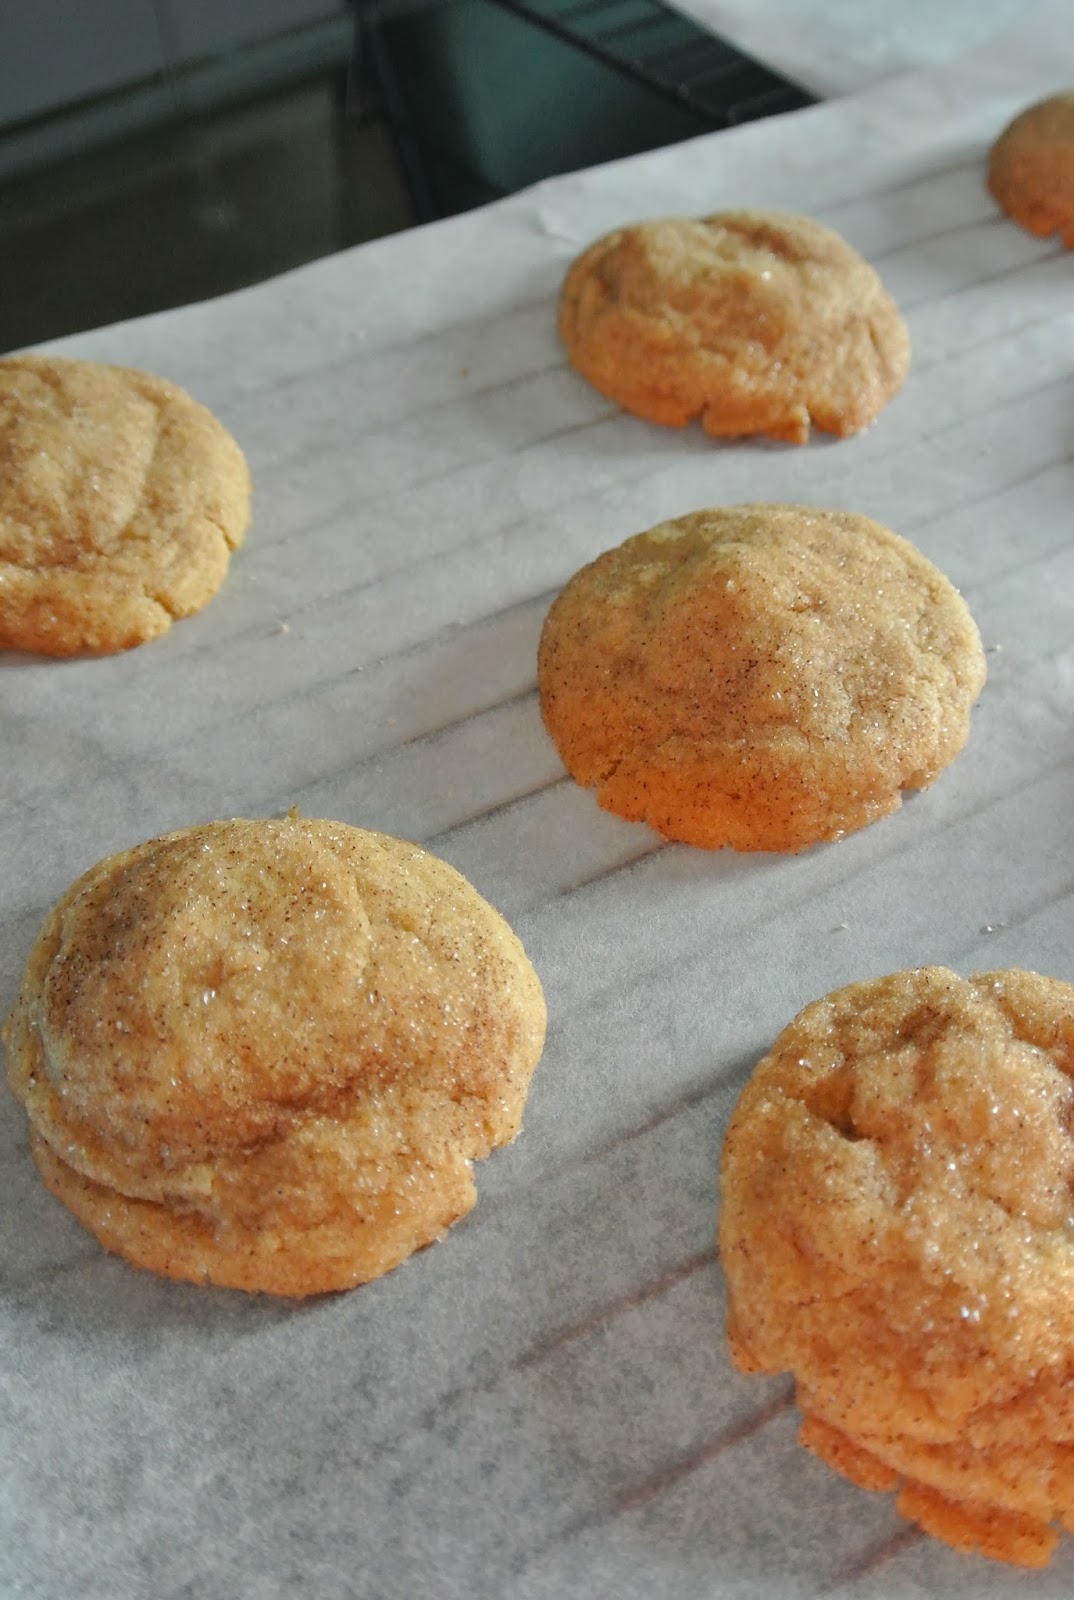
Soft, puffy, cinnamon-y snickerdoodles.

Gorgeous, winter sun…I know it's hitting hard on my cookies but I don't intend on doing anything about it.


We're doing secret Santa at our school, plus I have a Christmas party to attend tomorrow. What better gift to give than a fresh batch of homemade cookies?

I can't think of anything better to give (other than a Starbucks gift card, of course.)

Anyhow, I've been wanting to make these cookies from Sally's Baking Addiction for a long time. I've finally pulled myself to doing it. And oh my goodness, they are adorable. Ah, the feels.


I really don't have anything else to say other than: try it.

Seriously, try it.

And since it's holiday season, I think my "I-need-to-bake-every-day Season" schedule is gonna kick in.

Ready or not, here I come.


Recipe here.


Super easy, super soft, super puffy, and oh-so-adorable.

Now excuse me while I go dig myself a hole and eat cookies…...


Happy baking!
 photo ScreenShot2013-08-31at55636PM_zps321e12a9.jpg

Monday, October 7, 2013

Reese's Pieces Peanut Butter Cup Cookies


First of all, I DO know that Reese's pieces and peanut butter cups are completely different things...I apologize for the rather misleading title.....

There will not be much text today as I need to pack for camp and these cookies were made in a rush! My good camera also isn't working today, so please pardon the oddly long and bad quality photos!


I finally got my hands on some Reese's pieces (!!!!) They don't sell them in Hong Kong, but I did manage to get 10 bags of them on a recent trip to Thailand (and 6 packs of peanut butter cups)! I decided to make some cookies with them, but my favorite 2 cookie recipe websites both had recipes that required at least 2 hours of chilling, which is time that I simply don't have.

Therefore, I turned to Google, and found this awesome cookie base recipe, which works for any type of add-ins!


After zero chilling, I got supper puffy, soft, and chewy cookies! I must say, these are on the top of my list--definitely one of the best cookies I've ever made! I had one right when it came out of the oven, and oh my goodness, was it good!


This is the epitome of a good, perfect softbatch butter cookie with tons of Reese's pieces and chopped up peanut butter cups! Definitely a peanut butter/chocolate lover's dream!


I will leave you with the recipe, which you can find here (yes I AM in a hurry...you have been warned!)

And yes, I do realize that this is my fourth consecutive cookie post, but hey, there's never such a thing as too many cookies.......


Happy baking!
 photo ScreenShot2013-08-31at55636PM_zps321e12a9.jpg

Monday, September 23, 2013

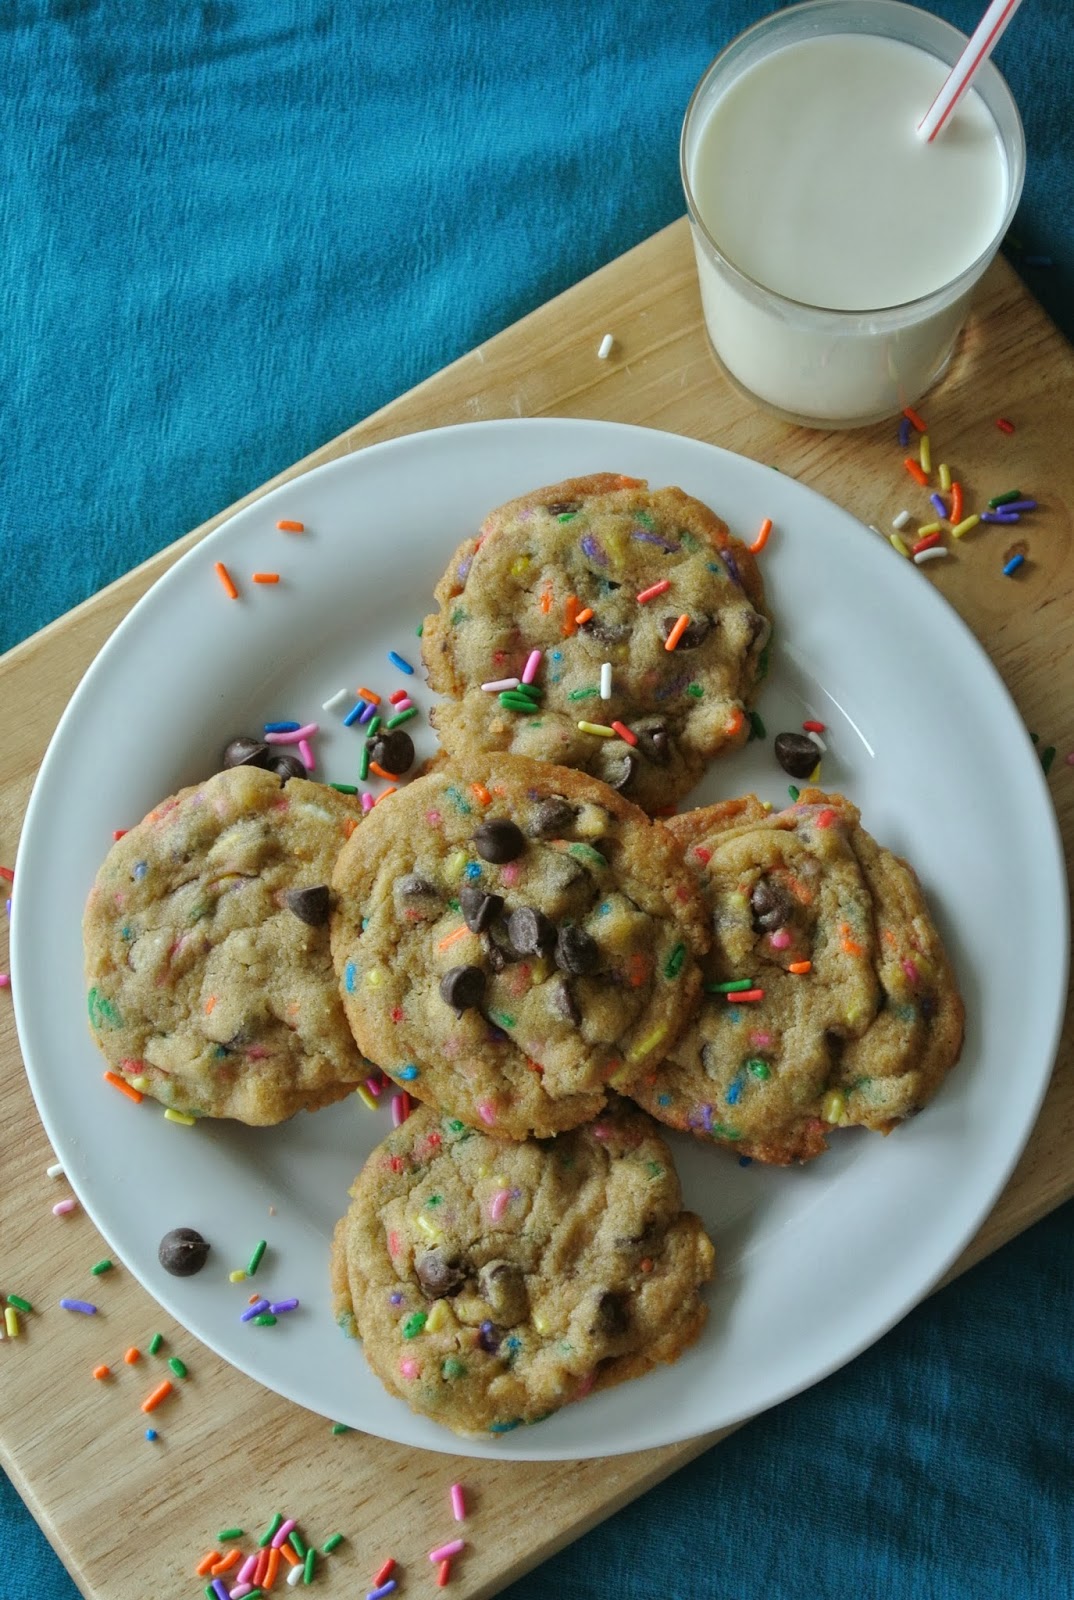
Funfetti Cake Batter Chocolate Chip Cookies


Today's post is fully loaded--long title, lots of pictures, and lots of wind blowing in my face. Okay, not really, but you get the idea. 

Typhoon Usagi hit Hong Kong yesterday and despite my initial cynical predictions, we got a day off of school! Typhoon day always equals baking day. I mean, come on, what do you expect. ;)


Because Usagi decided to grace us with his (his/her?) presence, I figured funfetti cake batter chocolate chip cookies from Sally's Baking Addiction would be fitting for the occasion. I know, I know. Just because.


These gorgeous little gems were a breeze to make (see what I did there? Typhoon-->Breeze....?) They came together in about 5 minutes, and all that was left to do really was just chill, then bake! The ingredients were pretty much normal ingredients you'd find in a cookie--butter, eggs, vanilla, flour, sugar, etc...all but one ingredient: cake mix. I normally don't like cake mix because it tastes.......well......artificial. I mean, come on, it's cake mix. It has to be artificial. Despite how artificial cake mix can be, these cookies don't taste the least bit artificial! The original recipe called for yellow/white cake mix, but I found funfetti cake mix and decided to go for it! The more sprinkles the merrier, right?


The next part was the most crucial part. You have to chill the dough. There are absolutely no exceptions. Unless you want a flat, crispy, gross cookie. I don't want that. Therefore, chilling is mandatory. I don't know how many times I've seen bloggers stress this point, and it is no different for me: Chilling is mandatory. The time ranges from 1 hour to up to 4 days. I simply left it in the fridge, cooked myself some lunch, ate it, then went back to check on them. 

After chilling, your dough should firm up from a sticky mess into a dough that holds together and barely sticks to your hands. Normally, you roll the dough into balls, then bake. However, this recipe is a little different. Instead of rolling into a round (spherical) ball, you rolls them into little sand dunes. To do this, I rolled a heaped tablespoon of dough onto a ball, then rolled it sideways so that it began to stretch vertically. That way, when your cookies bake up, they will be puffier instead of flat.


My first batch of cookies came out a bit flatter than I liked them to, and the edges browned a bit more than I had desired as well. This was not a big problem, though. For the next few batches, I rolled the dough balls even taller so that they'd flatten out less. 

One other word of advice: Use Silpat! I can't believe I just got myself one, but boy, do I love it! Absolutely nothing sticks to it (except for a few melted chocolate chips, ha!) and they help a lot with getting the cookies to bake evenly. I also found it easier to transfer cookies to a wire rack from a Silpat than a piece of parchment paper, so I strongly advise you to get one if you haven't already! **They are pricey, but remember, you will use it again and again.


I really, really urge you to go and make these. They have now become one of my favorite cookies! They're also a great way to use up the legit sprinkles that I finally found after a 6-month quest :) I had to travel all the way to the other side of the city to find them!


You can find the recipe here. Have fun covering your whole house in chocolate chips and sprinkles :)

Happy baking!
post signature

Tuesday, September 17, 2013

Pumpkin Chocolate Chip Cookies

Honestly, when I first saw this recipe, I thought that Sally was bonkers. Turns out, so am I.
I put this on my baking bucket list because I just bought a new can of pumpkin and the recipe seemed adventurously delicious. I don't normally like pumpkin, but I figured I'd give it a try--just because Sally's photos looked so darn good.

There's something SO, so, magical about a jar of cinnamon sticks, and I can't figure out what.....

So anyway, I definitely have to credit Sally for this recipe. I seriously never could've thought of putting pumpkin in a cookie. And no, Hong Kong simply does not admit the existence of fall, so the coexistence of pumpkin and chocolate in one cookie is just unheard of.

Honestly, at first I was very skeptical. I simply had no idea if a pumpkin cookie would taste good. Obviously I'm not very smart because really, today shouldn't be a time of experiment, but I mean come on, these turned out pretty well, right?.........


When the first few of them came out of the oven I could practically smell fall in my house. I literally said that over and over to my brother, who, of course, couldn't care less. There's something about the existence of spices and warm cookies that just brings you this sense of.....of........awesomeness.


*The cinnamon sticks are just there for photographical purposes. No actual cinnamon sticks were used in this recipe.

I took a bit into one while it was still warm, and oh my goodness, that cookie just melted into my mouth and the spices just started to fill the emptiness of my mouth. What's more, it was SOFT and CHEWY. Um.....can we all just say "yes please" and let out a sigh of disappointment at how we're not as awesome as Sally is? This lady is cray!


I cannot think of anything that's better than a warm, spice filled cookie amidst the (not-so-picturesque) fall weather. Of course, Hong Kong spoils everything. It looks nothing like fall here, but ah, the feels when you forget about the place you live in and just dive into fall.


The recipe is here, and make these to your little heart's content :) I promise you won't be disappointed.

Happy baking!
post signature

Saturday, September 14, 2013

Almond Green Tea (Matcha) Cookies


First off, let my start this post by saying just HOW LONG this stinkin photo shoot took me. For goodness sake, I wasted so much time on this that it's not even funny. But no, I'm not complaining.....

Okay, so these little things are pretty self explanatory. Almond meal, green tea powder, eggs, butter, sugar...nothing out of the ordinary. But these cookies weren't an automatic success.


The dough came together in a matter of seconds. Whisk the sugar and green tea powder together, cream that with the butter, add the almond meal and the eggs, and you're done. But it's what came after that that scared me off.


The dough required chilling, which was pretty normal in a sense that these were, in fact, cookies. However, things started to get out of control afterwards.

I rolled the dough up into a log and put it in the fridge to chill for 30 minutes, since that's what the recipe said. (*note to self: recipes aren't always right.)

Then I took them out after half an hour and sliced a dozen for the first cookie sheet. Alright, the slicing was seriously a nightmare. The dough wasn't firm enough and I had zero patience so I just went in with my ultra sharp knife and cut 1/2-inch slices.


I coated them in some normal sugar, then baked them for 12 minutes, since that was the minimum time stated on the recipe. I pulled them out to take a peek and make sure they were done, and they didn't looked cooked. Alright, no biggie, back in the oven.

But I had to do this twice until the cookie tops actually started cracking. I even lifted them up a bit to check the bottoms, and they were just floppy. Back into the oven again, and in all, I had to bake the first batch for a whole TWENTY-SEVEN MINUTES. That's roughly how long it takes to bake a standard sized cake.


I broke one and took a bite--it was cakey. Cakey-ness in a cookies is always a big fat NO. Cake and cookies shouldn't even be combined in one thing. I tossed them into the bin and decided to chill the rest of the dough for a little bit longer, a "little bit" meaning 1.5 hours. 


From then on the slicing was just super duper easy and everything fell in place (yay!). However, baking time-wise....I actually had to bake every single batch for AT LEAST 20 something minutes. That is crazy OUTRAGEOUS for a cookie recipe. And they weren't even a touch overdone. Just kinda hard-ish like a thick green tea cookie should be.


All in all, these cookies turned out well, I'd say. (Well, they have to be--I'm giving them away!) But I'd say the recipe definitely could use some tweaking. 

Next up will be Twix Chocolate Chip cookies, which have been on my baking bucket list for ages. Stay tuned!

Happy baking!

post signature