Showing posts with label funfetti. Show all posts

Tuesday, February 4, 2014

Funfetti Cake Batter Puppy Chow


Oh dear sprinkles.

Today I'm bringing you a no-bake treat that may presumably be my favorite treat I've made these past couple months. Of course, that 3-layer cake I made last week was delightful and certainly made me proud, but this puppy chow recipe was so easy and delicious. Nothing complicated involved. Win-win. 


I went on a very tiring and rather dangerous hike yesterday. Five total hours of consistent climbing, slippery rocks, and creeks was enough to wear me out. Boy, if I had a choice, I'd much rather be eating puppy chow than hiking. But I guess hiking yesterday and eating puppy chow today makes me feel not as bad about the calories. So maybe that's okay.


This puppy chow recipe, unlike many others, does NOT involve powdered sugar. The original recipe, which can be found here, involved funfetti cake mix and powdered sugar. 

But here's why I did not include any powdered sugar in my puppy chow:
1) I didn't want it overly sweet.

….and….drumroll please…..
2) I didn't have any.

Yep, the reigning queen of disorganization failed to find powdered sugar in her cupboard. (And by the way, the reigning queen of disorganization is me, as if you needed any more proof…..) I didn't think it was going to be a problem, though, because I really didn't want my puppy chow to come out super sweet and I thought the funfetti cake mix would be enough powder to coat the Chex. 


To make this puppy chow, you simply have to melt your candy melts (or white chocolate), stir it into the Chex cereal, carefully toss that around, throw in some funfetti cake mix, and the last, and highly recommended ingredient, sprinkles. I mean, come on, we all know the tiny sprinkles in funfetti cake mix isn't enough to make this puppy chow worthy of being called funfetti. I lost count of how much extra sprinkles I put in, but I'd say it was somewhere between 1/3-1/2 cup.


Because I'm bringing this to a movie party tomorrow, I only tasted a little bit of it, but oh my goodness, it was SO good. It wasn't overly sweet as I had anticipated it to be, but rather subtly sweet with a strong cake batter kick to it. I tasted even better than the puppy chow in my dreams. Just powdery, sugary, cake battery heaven.


I did modify the original recipe a bit, so I'll leave you with my take on the recipe. I swear, this is THE most amazing thing on earth. Literally. Believe it or not, before I tucked the puppy chow away into an airtight container for transporting tomorrow, I said goodbye to it and whispered, "See you tomorrow." Ah, the feels.


The recipe is below if you want it (I'm sure you would). Go spare yourself a couple minutes and whip this up, then sit in front of your computer/TV and watch something fun. Which is exactly what I'm going to do right now. I think my soul is longing for a little bit of Glee.
  

Happy baking!
 photo ScreenShot2013-08-31at55636PM_zps321e12a9.jpg

Funfetti Cake Batter Puppy Chow
Yields about 5 cups of coated cereal

Ingredients:
5 cups Rice Chex (or any type of Chex)
10 ounces white candy melts/white chocolate chips
1 teaspoon vegetable oil
1 1/2 cups funfetti cake mix (or substitute with white cake mix and add in additional sprinkles)
Extra sprinkles, optional but highly recommended

Directions:
1. Measure out the Chex and place into a large bowl. Set aside.
2. Melt the candy melts and vegetable oil according to package instructions. Stir to melt.
3. Pour the candy melts into the bowl with the cereal and VERY CAREFULLY toss it together to coat.
4. Add the cake mix, and stir CAREFULLY so the cereal is evenly coated.
5. Throw in the extra sprinkles if using, stirring gently to disperse. Enjoy!

Monday, September 23, 2013

Funfetti Cake Batter Chocolate Chip Cookies


Today's post is fully loaded--long title, lots of pictures, and lots of wind blowing in my face. Okay, not really, but you get the idea. 

Typhoon Usagi hit Hong Kong yesterday and despite my initial cynical predictions, we got a day off of school! Typhoon day always equals baking day. I mean, come on, what do you expect. ;)


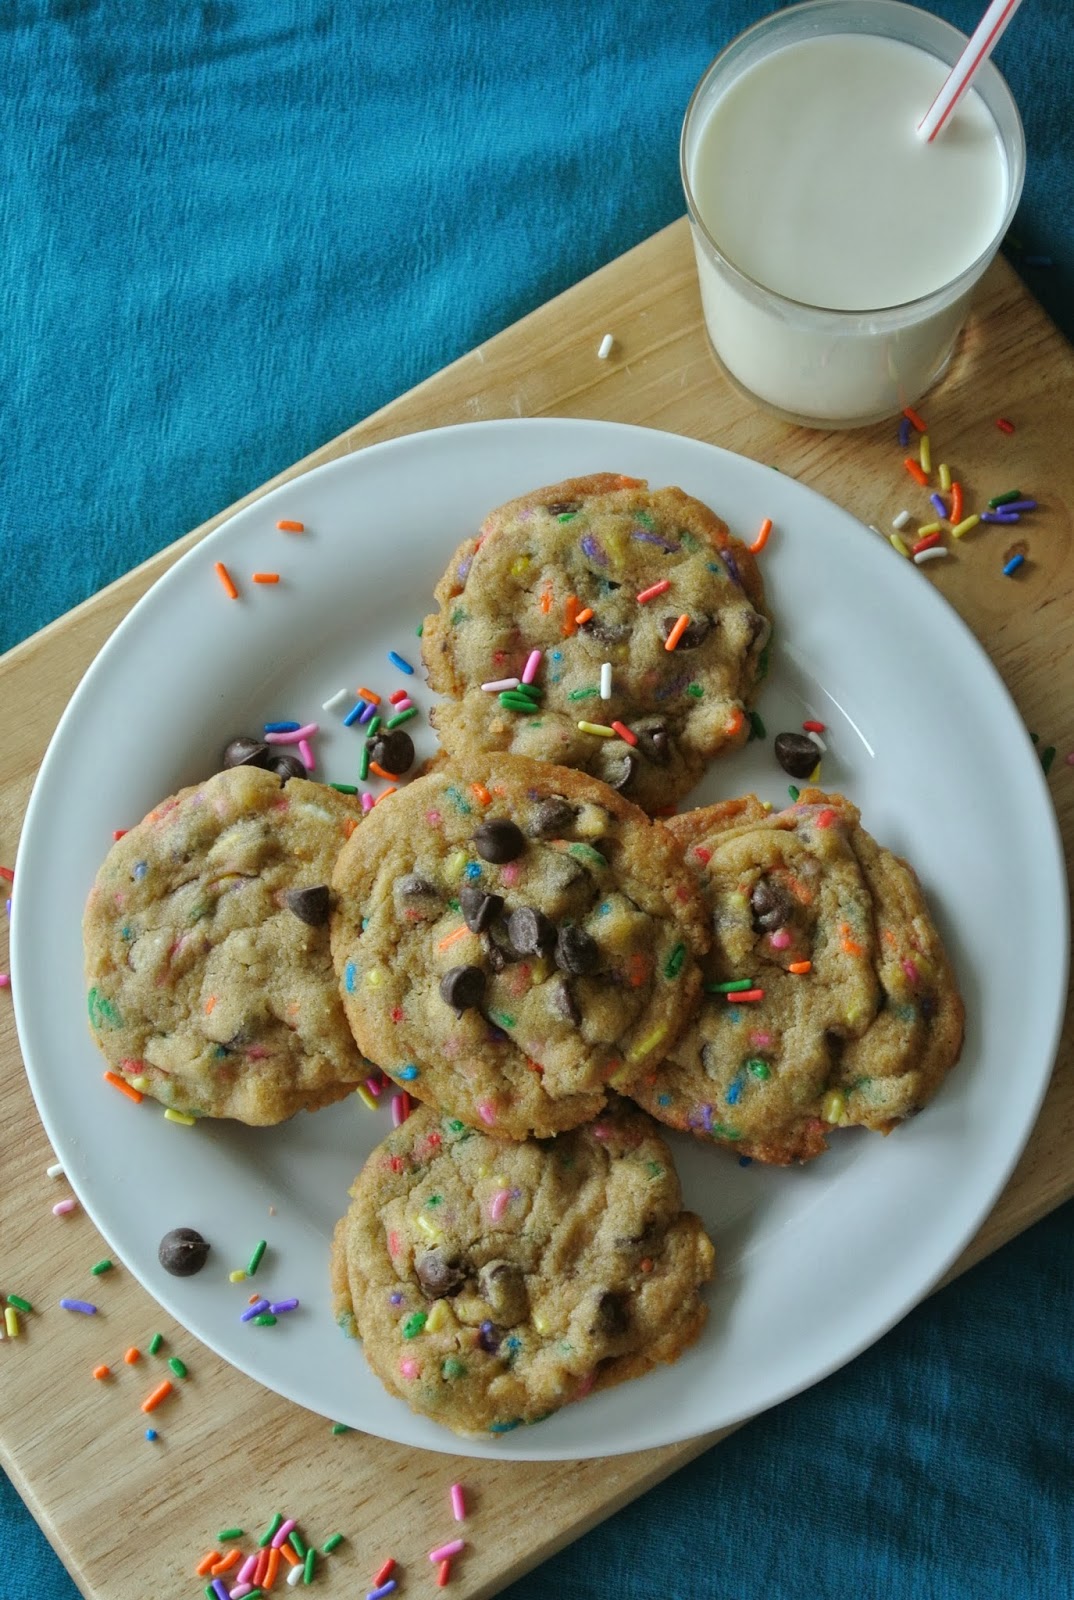
Because Usagi decided to grace us with his (his/her?) presence, I figured funfetti cake batter chocolate chip cookies from Sally's Baking Addiction would be fitting for the occasion. I know, I know. Just because.


These gorgeous little gems were a breeze to make (see what I did there? Typhoon-->Breeze....?) They came together in about 5 minutes, and all that was left to do really was just chill, then bake! The ingredients were pretty much normal ingredients you'd find in a cookie--butter, eggs, vanilla, flour, sugar, etc...all but one ingredient: cake mix. I normally don't like cake mix because it tastes.......well......artificial. I mean, come on, it's cake mix. It has to be artificial. Despite how artificial cake mix can be, these cookies don't taste the least bit artificial! The original recipe called for yellow/white cake mix, but I found funfetti cake mix and decided to go for it! The more sprinkles the merrier, right?


The next part was the most crucial part. You have to chill the dough. There are absolutely no exceptions. Unless you want a flat, crispy, gross cookie. I don't want that. Therefore, chilling is mandatory. I don't know how many times I've seen bloggers stress this point, and it is no different for me: Chilling is mandatory. The time ranges from 1 hour to up to 4 days. I simply left it in the fridge, cooked myself some lunch, ate it, then went back to check on them. 

After chilling, your dough should firm up from a sticky mess into a dough that holds together and barely sticks to your hands. Normally, you roll the dough into balls, then bake. However, this recipe is a little different. Instead of rolling into a round (spherical) ball, you rolls them into little sand dunes. To do this, I rolled a heaped tablespoon of dough onto a ball, then rolled it sideways so that it began to stretch vertically. That way, when your cookies bake up, they will be puffier instead of flat.


My first batch of cookies came out a bit flatter than I liked them to, and the edges browned a bit more than I had desired as well. This was not a big problem, though. For the next few batches, I rolled the dough balls even taller so that they'd flatten out less. 

One other word of advice: Use Silpat! I can't believe I just got myself one, but boy, do I love it! Absolutely nothing sticks to it (except for a few melted chocolate chips, ha!) and they help a lot with getting the cookies to bake evenly. I also found it easier to transfer cookies to a wire rack from a Silpat than a piece of parchment paper, so I strongly advise you to get one if you haven't already! **They are pricey, but remember, you will use it again and again.


I really, really urge you to go and make these. They have now become one of my favorite cookies! They're also a great way to use up the legit sprinkles that I finally found after a 6-month quest :) I had to travel all the way to the other side of the city to find them!


You can find the recipe here. Have fun covering your whole house in chocolate chips and sprinkles :)

Happy baking!
post signature

Tuesday, July 16, 2013

Giant Funfetti Cookies


I was diagnosed with sprinkle fever, and I can't seem to get rid of it. But I don't mind the least bit (:

Yes, I am aware that I've been baking almost everyday, and yes, I am aware that the lemon bars yesterday were gross, but these funfetti cookies made up for it well.


I've been DYING to try this recipe for ages. Judging from the end result, I'd say I made a good choice. But no, you didn't see the magic that happened behind the scenes. And no, things in fact weren't going so well until the last minute. Legitimately the last micro second.


First of all, I have to say that my cookies turned out NOTHING like the pictures from the original recipe, and I swear I followed the recipe to a T. I did every single thing the recipe stated, including letting my egg rest to room temperature, AND letting my butter sit at room temperature to soften. I normally just warm the butter in the microwave, which I have to say is a much faster way AND I'm amazingly skilled at doing that, but for this recipe I had some extra time so I let the butter sit out.

I was instructed to bake for EXACTLY 8 minutes and no more, so I did that. I was also told that the cookies will look very underdone but they'll further bake with the remaining heat, so I let the cookies sit in the cookie sheet for 10 minutes after baking so they'd continue to cook. And let me tell you, they were COMPLETELY raw even after almost half an hour of resting. 


Now I don't blame the recipe writer. It is terribly hard to get the timings right for a recipe because everybody's oven is different. But I have to say, there was a point where I was about to give up on these cookies. I even trashed a couple of them.

However, I decided to bake them again, well aware of the possibility that they'd be overdone. 

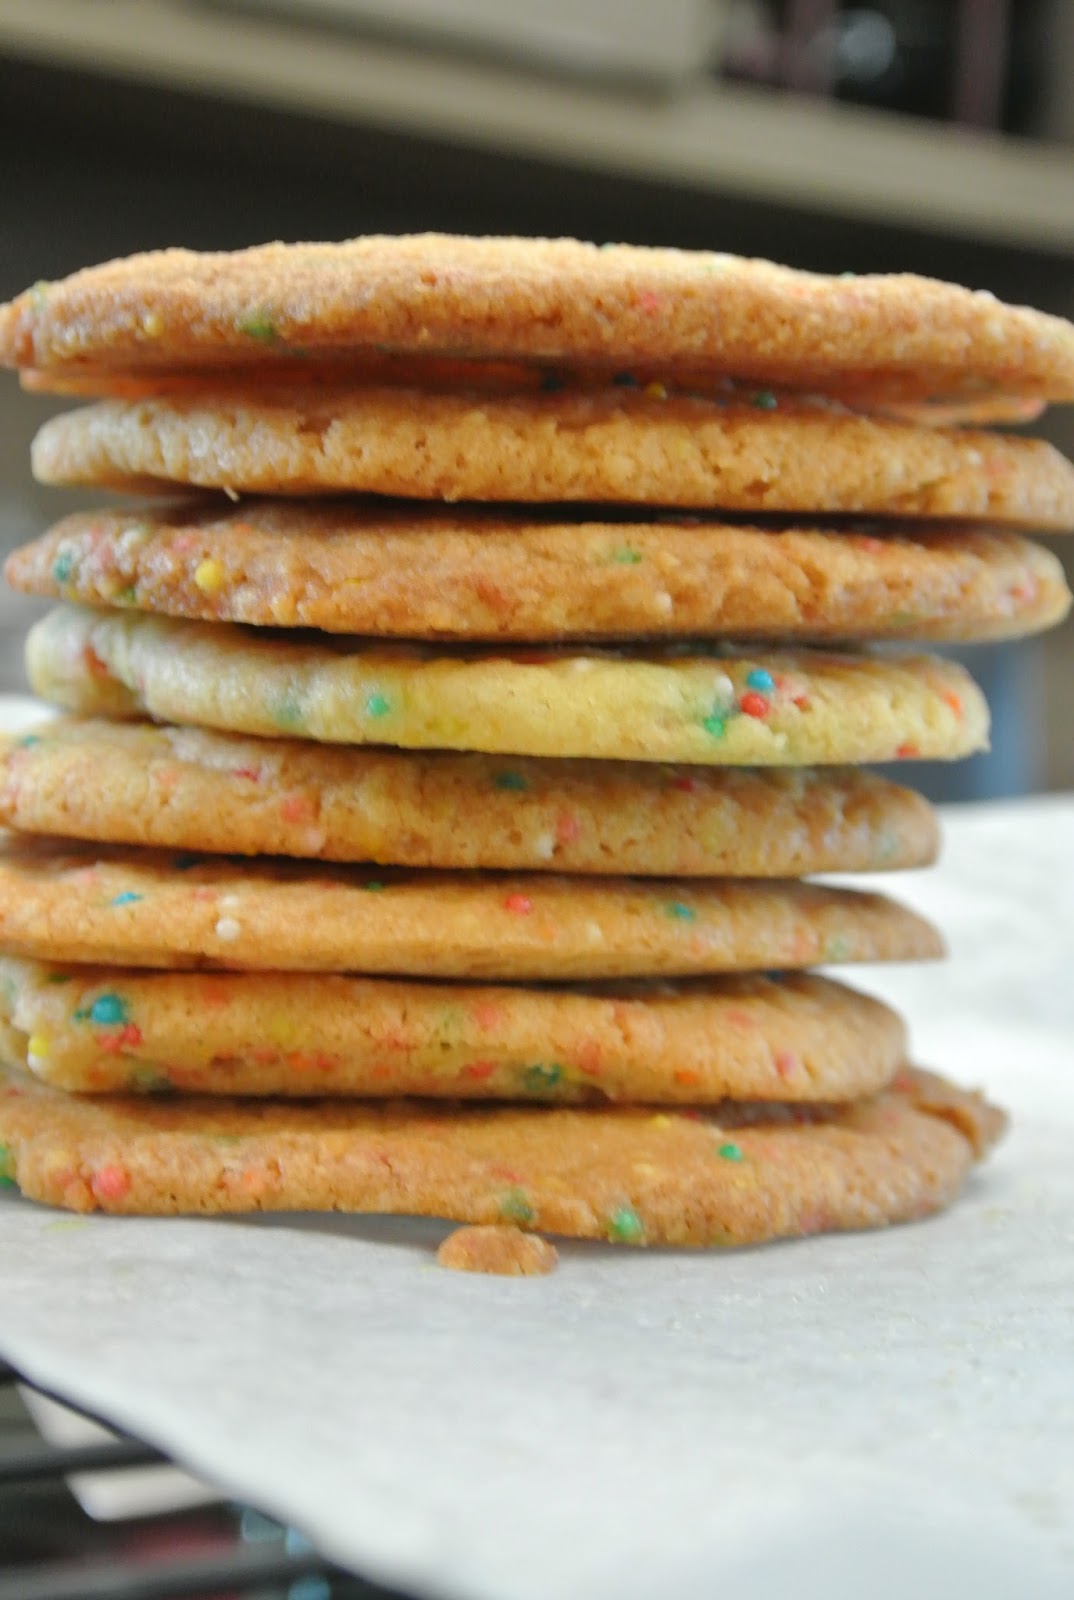
And let me tell you, they would be considered "overbaked" for most people, but to be honest with you, they were in the PERFECT state! Crunchy on the edges, soft and incredibly chewy on the inside! 


The best part was that there were specks of sprinkles (or nonpareils in my case) peeking out from the cookie! 


There were sprinkles mixed in the dough, and MORE sprinkles sprinkled on top. But no, my sprinkle fever isn't cured. At least not yet.


See? I told you there were sprinkles all over.


I was fairly disappointed by the fact that I almost had to bake them an extra 8 minutes, but it was well worth the time! The cookies also spread A LOT during baking, which was completely unprecedented judging by the fact that I refrigerated them for a whole 2 hours. If I knew in advance that they'd spread so much anyways, I wouldn't have wasted all that time :( Better safe than sorry though!


Made 8 HUGE cookies in total. I was "supposed" to make 15, but I did mention earlier that I trashed a few of them. They should've been thicker and smaller, but somehow they just came out HUMONGOUS (not that I mind though)!

I embedded the link somewhere in this post already, but if you want to try these cookies out, you can get the recipe here. Have fun digging in to these sweet, colorful, and GiGaNtIc monsters!

Happy baking!