
Today's post is fully loaded--long title, lots of pictures, and lots of wind blowing in my face. Okay, not really, but you get the idea.
Typhoon Usagi hit Hong Kong yesterday and despite my initial cynical predictions, we got a day off of school! Typhoon day always equals baking day. I mean, come on, what do you expect. ;)

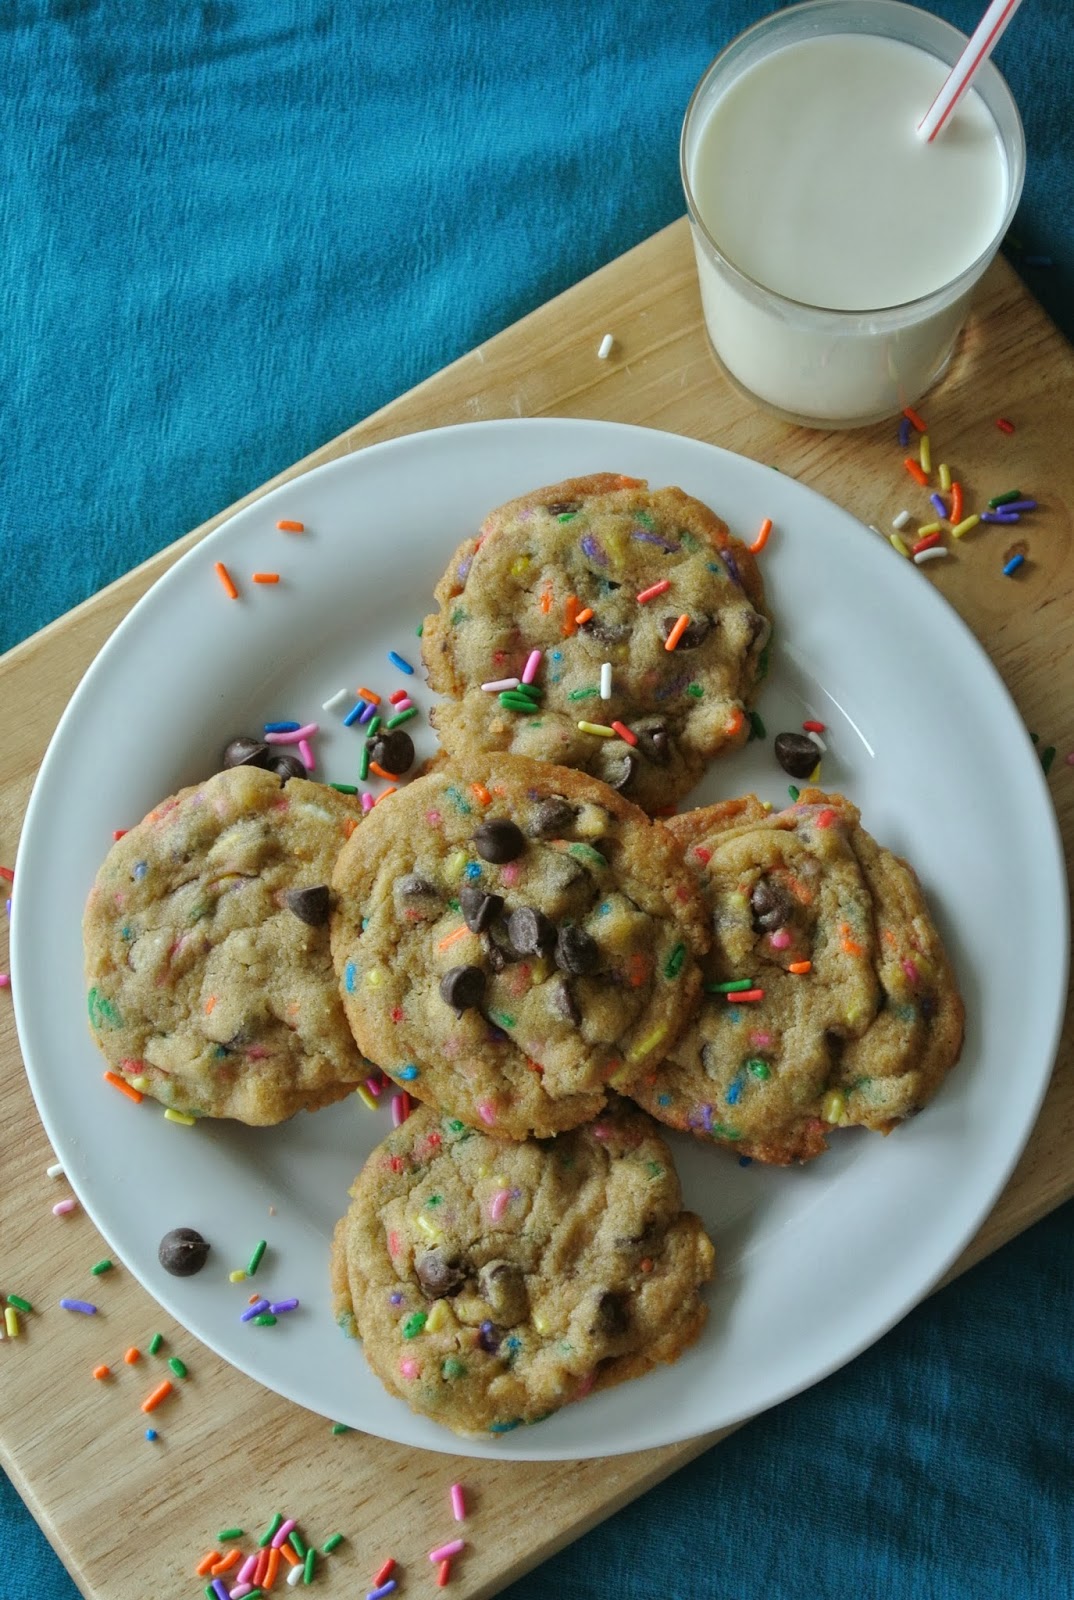
Because Usagi decided to grace us with his (his/her?) presence, I figured funfetti cake batter chocolate chip cookies from Sally's Baking Addiction would be fitting for the occasion. I know, I know. Just because.

These gorgeous little gems were a breeze to make (see what I did there? Typhoon-->Breeze....?) They came together in about 5 minutes, and all that was left to do really was just chill, then bake! The ingredients were pretty much normal ingredients you'd find in a cookie--butter, eggs, vanilla, flour, sugar, etc...all but one ingredient: cake mix. I normally don't like cake mix because it tastes.......well......artificial. I mean, come on, it's cake mix. It has to be artificial. Despite how artificial cake mix can be, these cookies don't taste the least bit artificial! The original recipe called for yellow/white cake mix, but I found funfetti cake mix and decided to go for it! The more sprinkles the merrier, right?

The next part was the most crucial part. You have to chill the dough. There are absolutely no exceptions. Unless you want a flat, crispy, gross cookie. I don't want that. Therefore, chilling is mandatory. I don't know how many times I've seen bloggers stress this point, and it is no different for me: Chilling is mandatory. The time ranges from 1 hour to up to 4 days. I simply left it in the fridge, cooked myself some lunch, ate it, then went back to check on them.
After chilling, your dough should firm up from a sticky mess into a dough that holds together and barely sticks to your hands. Normally, you roll the dough into balls, then bake. However, this recipe is a little different. Instead of rolling into a round (spherical) ball, you rolls them into little sand dunes. To do this, I rolled a heaped tablespoon of dough onto a ball, then rolled it sideways so that it began to stretch vertically. That way, when your cookies bake up, they will be puffier instead of flat.

My first batch of cookies came out a bit flatter than I liked them to, and the edges browned a bit more than I had desired as well. This was not a big problem, though. For the next few batches, I rolled the dough balls even taller so that they'd flatten out less.
One other word of advice: Use Silpat! I can't believe I just got myself one, but boy, do I love it! Absolutely nothing sticks to it (except for a few melted chocolate chips, ha!) and they help a lot with getting the cookies to bake evenly. I also found it easier to transfer cookies to a wire rack from a Silpat than a piece of parchment paper, so I strongly advise you to get one if you haven't already! **They are pricey, but remember, you will use it again and again.

I really, really urge you to go and make these. They have now become one of my favorite cookies! They're also a great way to use up the legit sprinkles that I finally found after a 6-month quest :) I had to travel all the way to the other side of the city to find them!

You can find the recipe here. Have fun covering your whole house in chocolate chips and sprinkles :)
Happy baking!

No comments:
Post a Comment